Espresso guide
How to dial in espresso without chasing the clock.
A good dial-in routine is less about finding a magic number and more about making each shot useful. Hold the recipe steady, change one thing, and pay attention to what happens in the cup.
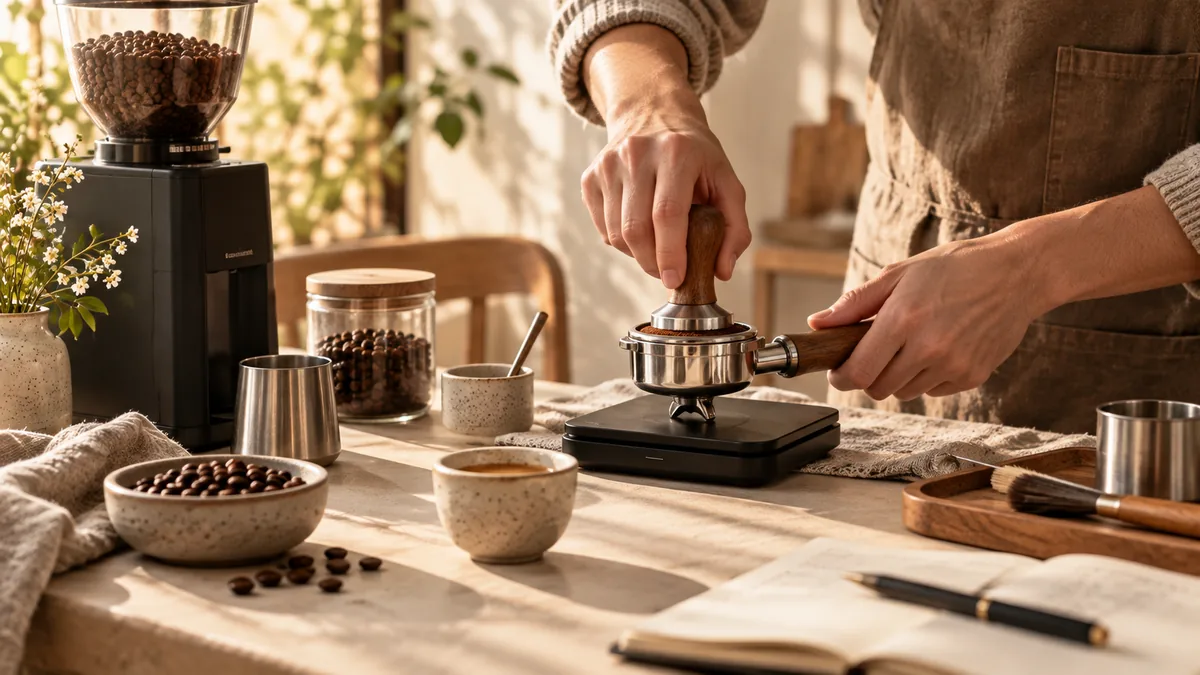
The useful part of dialing in is not the final recipe. It is the feedback loop. When dose, yield, and preparation are reasonably consistent, the next shot tells you whether a grind or yield change actually helped.
1. Set a starting recipe you can actually repeat
Pick the dose first and leave it alone for a few shots. La Marzocco recommends choosing a dose that matches the basket rather than changing the amount of coffee every time the shot behaves differently. With the dose fixed, choose a beverage yield. For an 18 g dose, a 1:2 starting ratio means roughly 36 g of espresso in the cup.
That 1:2 number is a baseline, not a destination. Brew ratio changes both concentration and extraction. Barista Hustle's Espresso Compass describes the tradeoff clearly: a longer yield tends to make the drink less concentrated while extracting more from the coffee; a shorter yield does the opposite. Weighing dose and yield makes that relationship visible.
2. Measure dose, yield, and time — then put the timer in its place
Put a scale under the cup and stop the shot at a measured yield. Record the time the same way every time. Some machines include pre-infusion, some users start the timer at pump-on, and others count from first drip. Consistency matters more than pretending those conventions are interchangeable.
The familiar 25–30 second window is useful when you need an initial reference. It should not overrule a good-tasting shot. La Marzocco's modern espresso guidance includes light-roast examples that run much longer while the recipe is adjusted by taste and brew ratio. A better question than “Did it hit 30 seconds?” is “Did it taste good, and can I repeat it?”
3. Taste before you touch the grinder
Once a shot is close, taste is more informative than the timer by itself. If a shot lands outside a textbook time but tastes balanced, there is no prize for forcing it back into range. Save the recipe and see whether you can make it again.
| What you taste / see | Best first move | Keep steady |
|---|---|---|
| Balanced and repeatable | Keep the recipe | Dose, yield, grind, puck prep |
| Fast + sour or thin | Grind slightly finer | Dose and target yield |
| Slow + bitter or dry | Grind slightly coarser | Dose and target yield |
| Sour + bitter, spraying, or erratic | Fix puck prep and repeat | Recipe and grind |
| Sour but not clearly fast | Try a slightly longer yield, especially with a light roast | Dose and grind for the test |
| Bitter but not clearly slow | Try a slightly shorter yield, especially with a dark roast | Dose and grind for the test |
4. When the shot is obviously fast or slow
If it gushes and tastes sour
Say an 18 g dose reaches 36 g in the cup much faster than usual and the shot tastes sharp or hollow. If the puck preparation was sound, move the grinder a little finer and repeat the same 18 g in, 36 g out. A finer grind usually adds resistance and gives the water more opportunity to extract from the coffee.
If it crawls and tastes bitter
When the shot drips slowly, chokes, or takes much longer than usual and the cup is harsh or drying, move slightly coarser. The key is agreement between the clues. Slow plus bitter tells a clearer story than slow plus sour.
Clive Coffee uses the same broad logic when dialing by taste: flow can tell you which direction to explore, but the cup decides whether the change was useful. Once you are close, a few seconds on the timer matter less than a cleaner, sweeter shot.
5. Sour and bitter are useful clues, but not simple labels
Sour, sharp, or hollow
These flavors often show up when extraction is too low. If the shot was also fast, go a little finer first. If the flow looked reasonable, extending the yield can be a better experiment — particularly with a light roast. The drink will become less concentrated, but the extra water passing through the puck can increase extraction.
Bitter, harsh, or drying
If the shot was also slow, coarser is the obvious first test. If flow looked normal, a shorter yield may tell you more than a large grind change. Darker roasts can become harsh quickly when pushed, so do not assume every bitter shot needs the grinder moved dramatically.
6. Sour and bitter in the same shot usually deserve a repeat
A shot can be sharp and harsh at the same time when water does not move evenly through the puck. Barista Hustle discusses how uneven extraction can place under-extracted and over-extracted flavors in the same cup, which is why the result does not always fit neatly on a sour-to-bitter line.
Spraying, side jets, or large shot-to-shot swings are reasons to pause the grinder adjustments. Distribute the grounds evenly, tamp level, keep the recipe unchanged, and pull another shot. If the second shot behaves differently with the same settings, consistency is the problem you need to solve first.
If uneven flow keeps returning, the Espresso Channeling guide goes deeper into bottomless-portafilter clues, WDT, distribution, and the order to troubleshoot puck prep.
7. Roast level can nudge the recipe, but it should not run it
Light roasts often need more extraction effort. In La Marzocco's modern espresso examples, larger ratios, higher temperatures, and longer shot times are all used as tools for lighter coffees. Darker roasts generally extract more readily and can become harsh when pushed too far.
Use roast level as a tie-breaker, not a preset. If a light-roast shot stays sour even though flow is sensible, try extending the yield a little before endlessly grinding finer. If a dark-roast shot is bitter without being especially slow, shortening the yield may be the cleaner experiment.
8. A pressurized basket changes what the clues mean
Dual-wall or pressurized baskets create extra resistance at the basket outlet. Because the basket is helping control pressure, visible flow and shot time are not as direct a read on grind as they are with a standard single-wall basket.
With a pressurized basket, keep dose and yield repeatable and give taste more weight. Do not chase a particular shot time with grinder changes alone. If you are unsure which basket you have, look underneath: a pressurized design often funnels the brewed espresso through a restricted outlet, while a single-wall basket exposes many holes across the base.
Try it on your last shot
Turn the clues into one next change.
Enter dose, yield, time, roast, basket type, taste, and flow. The assistant will recommend one adjustment and tell you what to leave alone for the next shot.
Espresso dial-in FAQ
What does it mean to dial in espresso?
Dialing in means making a shot repeatable enough to learn from it. Keep the dose and target yield steady, taste the result, and change one variable at a time until the espresso is balanced.
Is 25 to 30 seconds the correct espresso shot time?
It is a familiar starting reference, not a pass/fail rule. A balanced, repeatable shot can fall outside that window. Read time alongside dose, yield, flow, and taste.
What should I change if espresso is fast and sour?
If the dose, target yield, and puck preparation are consistent, make a small grind adjustment finer and pull the same recipe again.
What should I change if espresso is slow and bitter?
If the recipe and puck preparation are consistent, make a small grind adjustment coarser while keeping the dose and target yield unchanged.
Why can espresso taste sour and bitter at the same time?
That combination can point to uneven extraction. Before making a large grind change, improve distribution and tamp consistency and repeat the same recipe.
Should I change dose while dialing in?
Usually, no. Pick a dose that suits the basket and hold it steady while you work on grind and yield. Changing dose and grind together makes the next shot harder to interpret.