Pour-over guide
Make pour-over coffee with a recipe you can learn from.
You do not need a complicated pouring routine. Start with a measured ratio, a sensible grind, hot water, and a simple bloom. Then change one thing only when the cup gives you a reason.
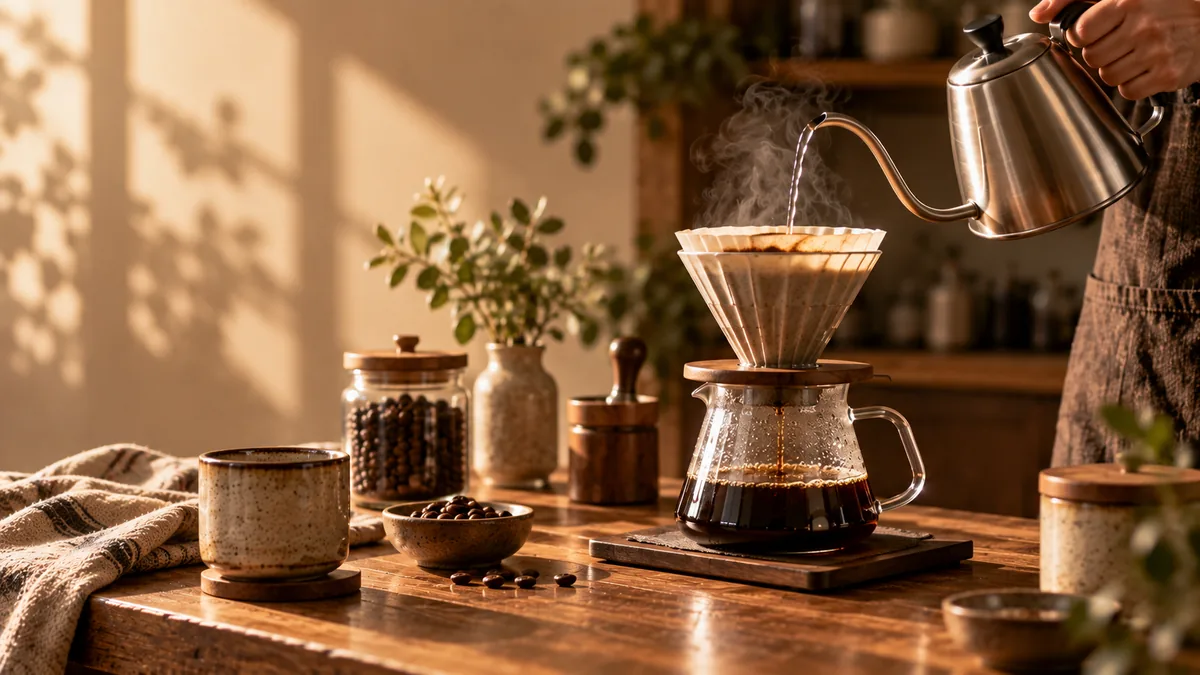
Pour-over gets complicated when every variable moves at once. A better first goal is repeatability: the same coffee dose, the same water amount, a similar pour, and one grind setting you can adjust deliberately.
A simple pour-over recipe for one mug
This is a starting recipe, not an official universal standard. Hario publishes V60 recipes that vary in ratio, bloom size, pouring structure, water temperature, and total brew time. That variation is useful: there is more than one good way to brew a pour-over. What matters at home is choosing one coherent recipe and repeating it long enough to understand what a change does.
| Variable | Start here | What to keep in mind |
|---|---|---|
| Coffee | 20 g | Weigh it. Volume scoops make comparison harder. |
| Water | 320 g | This gives a 1:16 coffee-to-water ratio. |
| Grind | Medium-fine | Use taste and repeatable drawdown to move finer or coarser. |
| Temperature | 200°F / 93°C | Small changes matter more than chasing a single perfect number. |
| Bloom | 50 g for ~40 sec | Wet all the coffee, then wait before the main pour. |
| Main pour | To 190 g, then 320 g | Use a steady stream and avoid violent agitation. |
Rinse the paper filter with hot water, discard the rinse water, add the ground coffee, and level the bed. Start the timer and pour about 50 g for the bloom. At roughly 40 seconds, pour steadily to about 190 g. Let the slurry drop a little, then continue to 320 g. Give the brewer a gentle swirl only if you need to settle the bed, then let it drain.
What you actually need
A dripper, the matching paper filter, a scale, a kettle, and freshly ground coffee are enough. A gooseneck kettle makes flow easier to control, but it is not a requirement for learning the fundamentals. The scale matters more because it lets you repeat both the coffee dose and the water you pour.
Use the brewer you already have. V60, Kalita Wave, flat-bottom drippers, and other pour-over brewers do not behave identically, so avoid copying another brewer's exact time target and assuming your cup should match it.
Set concentration with the ratio first
A 1:16 recipe means one gram of coffee for every 16 grams of brewing water. With 20 g of coffee, that is 320 g of water. Hario-published V60 recipes span nearby ratios, and the SCA uses 55 g of coffee per liter as the starting point in its Certified Home Brewer testing. Those are useful references, not proof that one ratio fits every coffee.
If the cup tastes good but feels heavier or lighter than you want, ratio is the clean variable to adjust. If it tastes sour, bitter, hollow, or drying, keep the ratio stable first and look at grind, temperature, or technique instead.
Use grind as your main adjustment dial
For a V60-style cone brewer, medium-fine is a useful place to begin. Hario's published recipes from James Hoffmann and Camber Coffee both use a medium-fine starting grind, but the exact setting depends on your grinder, coffee, filter, dose, and brewer.
If a repeatable brew runs quickly and tastes sharp, sour, or hollow, move a little finer. If it stalls and tastes bitter, harsh, or drying, move a little coarser. Make small changes. A grinder jump large enough to transform the whole flow pattern often teaches you less than one modest step.
Start hot, then make small temperature changes
About 200°F (93°C) is a practical starting point. SCA Certified Home Brewer requirements use coffee-bed temperatures from 92–96°C as the allowed brewing range during certification, while Hario recipes vary from around 90°C to water just off the boil depending on the recipe and coffee.
That is a good reason not to turn temperature into a rigid rule. If a light roast remains sour or weak after the grind is close, a slightly hotter brew can be worth testing. If a dark roast tastes harsh or bitter, a modest drop can be useful. Keep the rest of the recipe unchanged for the comparison.
The bloom only needs to wet the coffee evenly
The bloom is the first small pour. Hario-published V60 recipes commonly use roughly two to three times the coffee dose in water and wait around 30–45 seconds. For 20 g of coffee, 50 g is comfortably inside that range.
Pour enough to saturate the dry grounds, then gently swirl if you can see dry pockets. The goal is even wetting, not a dramatic dome. Freshly roasted coffee often releases visible gas during this stage, but the amount of bubbling is not a quality score.
Keep the main pour boring
You can find recipes built around one pour, two pours, several pulses, spirals, center pours, and deliberate agitation. Hario's own recipe library includes several of these approaches. That is exactly why a beginner does not need to copy all of them at once.
Use a comfortable, steady stream. Keep the kettle height and pour rate reasonably similar from brew to brew. Two main pours after the bloom are easy to remember and give you enough control without turning breakfast into a choreography exercise.
Read drawdown and taste together
Many V60 recipes finish somewhere around three minutes, but total time is heavily affected by coffee dose, fines, filter paper, grinder, dripper geometry, and pouring. Hario's published recipes themselves range meaningfully in total brew time. Treat drawdown as a clue rather than a pass/fail number.
| What happened | Try next | Keep steady |
|---|---|---|
| Tastes balanced | Keep the recipe | Everything |
| Fast + sour / hollow | Grind a little finer | Ratio, temperature, pouring |
| Slow + bitter / drying | Grind a little coarser | Ratio, temperature, pouring |
| Fast but tastes good | Do not fix the clock | Recipe |
| Slow but tastes good | Do not fix the clock | Recipe |
| Wildly inconsistent brew to brew | Simplify pouring and agitation | Dose, water, grind |
If the taste and the clock disagree, trust the cup first. A slow brew that is sweet and clear does not need to be made faster for the sake of a target time. Likewise, a quick brew that tastes balanced is not automatically under-extracted.
If the drawdown keeps missing your normal baseline, use the Pour-Over Drawdown Troubleshooting Guide to separate grind, agitation, filter flow, and technique before making a larger change.
Make the next brew easier to compare
Lock the numbers before you change the technique.
Use the ratio calculator, grind finder, and temperature finder to set a repeatable baseline. Then change one variable only when the cup gives you a clear reason.
Pour-over coffee FAQ
What is a good pour-over coffee ratio?
A useful starting point is around 1:16 by weight. For example, 20 g of coffee with 320 g of water. Treat that as a baseline, then change the ratio only if you want the cup more or less concentrated.
What grind size should I use for pour-over coffee?
Start around medium-fine for a V60-style cone brewer. If the brew repeatedly runs fast and tastes sour or hollow, try a little finer. If it stalls and tastes bitter or drying, try a little coarser.
How much water should I use for the bloom?
About two to three times the coffee dose is a practical range. With 20 g of coffee, roughly 40–60 g of water is enough to wet the bed. Hario-published recipes commonly use this range and bloom for about 30–45 seconds.
What temperature should I use for pour-over coffee?
Start near 200°F (93°C). A broad hot-brewing range around 195–205°F (91–96°C) is useful for many coffees, but roast level and taste can justify small changes.
How long should pour-over coffee take?
There is no single correct drawdown time. Many V60 recipes land somewhere around three minutes, but dose, grinder, filter, dripper, coffee, and pouring style all change the clock. Use time as a clue and taste as the decision.